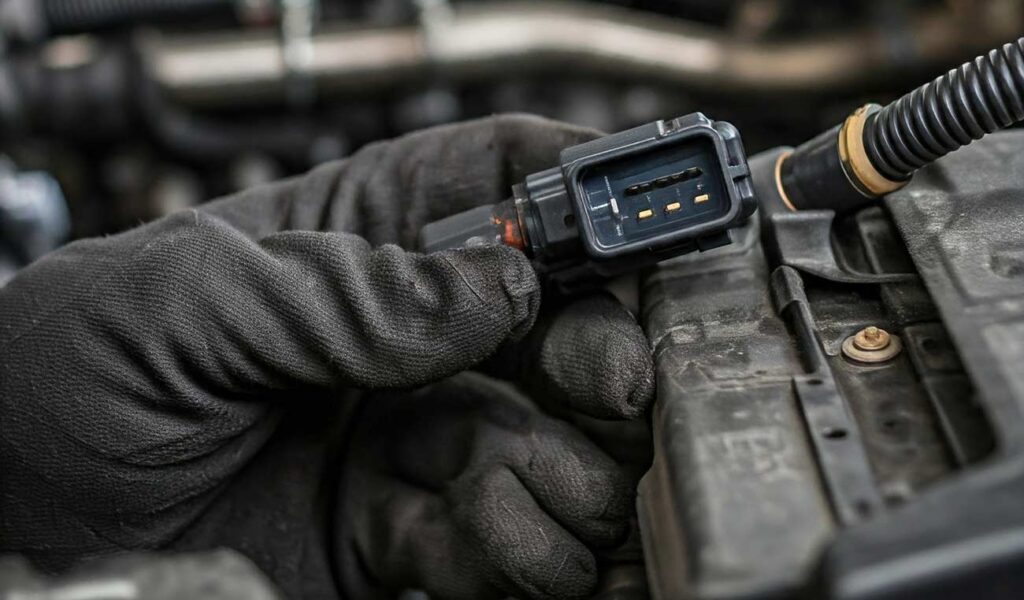
Replacing a coolant sensor seems like a quick fix, but it’s not the last step. To keep your car running smoothly after this repair, you’ve got a few important things to check and actions to take. Here’s a detailed breakdown of what you should do next after you’ve swapped out the sensor.
1. Clear the Codes on Your OBD System
After changing out the coolant temperature sensor, your car’s system might still have a check engine light on. This doesn’t mean something is wrong, it’s just the ECU (Engine Control Unit) holding onto old data. Most modern vehicles store error codes when a part goes bad, and simply swapping the sensor doesn’t clear these codes automatically.
- Reset the ECU: You can reset the system using an OBD-II scanner. Plug the scanner into the OBD-II port, which is usually under the dashboard. Follow the instructions on the device to clear the codes. If you don’t own a scanner, many local auto parts stores offer this service for free.
- Battery Reset: If you don’t have access to a scanner, you could try disconnecting the car battery for 10-15 minutes. This method sometimes forces the system to reset, but it’s not always guaranteed.
Clearing the codes should remove any error warnings tied to the previous malfunctioning coolant sensor.
2. Check the Coolant Levels
Once the sensor’s replaced, it’s important to check your coolant level. Sometimes, when replacing the sensor, a bit of coolant might leak out. Low coolant levels can cause the engine to overheat, which leads to expensive repairs.
Topping up the coolant: Use a coolant that’s compatible with your vehicle’s specifications. Look in the owner’s manual for guidance. Coolant types vary depending on your car’s make and model. Mixing the wrong coolant types can lead to issues, like corrosion in the cooling system.
3. Bleed the Cooling System
If you’ve lost a lot of coolant or if air got into the system during the sensor replacement, it’s necessary to bleed the air out. Air trapped inside the system could result in hot spots and overheating, since the coolant won’t circulate properly. Some vehicles are more sensitive to this than others.
How to bleed the system: Start by topping off the coolant reservoir and then running the engine with the heater on full blast. Keep the radiator cap off until the engine warms up, allowing the air to escape. Some vehicles also have a dedicated bleeder valve for this purpose.
4. Monitor the Engine’s Temperature
After changing the engine coolant temperature sensor, it’s essential to keep an eye on your engine’s temperature gauge for a few days. Even though the sensor should now be working correctly, monitoring your temperature helps ensure everything is functioning properly.
Abnormal readings: If your engine temperature spikes too high or drops too low, stop the car and let the engine cool down before continuing. This might indicate other issues like a malfunctioning thermostat, failing water pump, or radiator problems.
5a Visual Inspection of the Wiring
A faulty coolant sensor may have damaged wiring or connectors. Even after replacing the sensor, it’s wise to inspect the wiring harness that connects to it. Damaged wires can cause intermittent faults or incorrect temperature readings, which may affect engine performance.
Look for corroded or frayed wires: Corrosion or a loose connection might still cause the system to misread the temperature, even with a new sensor. Cleaning or repairing these connections could solve lingering issues.
6. Ensure Proper Coolant Flow
After replacing the sensor, you’ll want to confirm the coolant is flowing through your engine without any blockages. Sometimes sediment or debris can get lodged in the radiator or coolant hoses. Poor circulation can cause the engine to overheat, even if the sensor is working fine.
Flushing the system: It might be worth doing a coolant flush if your coolant looks dirty or if you’ve been having temperature issues. This process will clean out any buildup that might affect coolant flow.
7. Test Drive and Reassess
After completing all the steps above, take your car for a test drive to ensure everything is functioning as expected. Pay attention to how your engine behaves during the drive.
- Watch for warning lights: Keep an eye out for any warning lights or unusual behavior, such as erratic temperature readings or an engine misfire.
If all seems well, then your sensor replacement was successful. Still, regularly checking your car’s performance over the following weeks is a good practice. Minor glitches could crop up later, so staying alert is key.
8. Replace Other Cooling System Components (If Necessary)
Sometimes the coolant temperature sensor is a symptom of a larger issue. If your car continues to have issues despite replacing the sensor, it might be time to replace other related parts like the thermostat or even the radiator fan. These parts are essential for regulating your engine’s temperature.
Conclusion
Replacing the coolant temperature sensor is only part of the process. You’ll need to take a few extra steps to ensure your car continues to run smoothly. From resetting error codes to checking the coolant levels and inspecting for proper coolant flow, each task helps safeguard your engine. If you overlook these steps, you could face more severe issues down the road.

