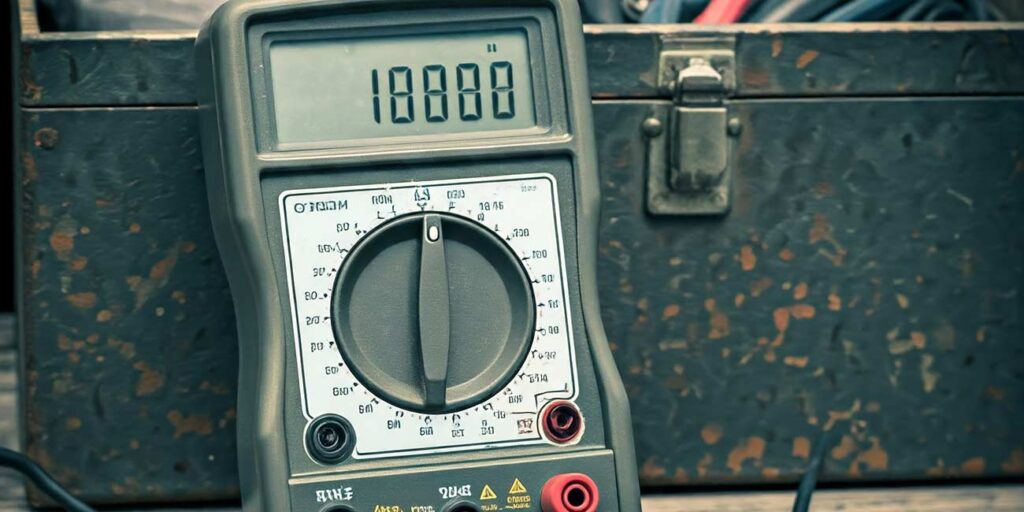
When your temperature sensor seems faulty or if you just want to verify its accuracy, using a multimeter is one of the simplest ways to get reliable data. Whether you’re working on a thermostat, engine, or any other temperature-sensitive system, knowing how to properly check a temperature sensor can save you a lot of time and money. Let’s go over how you can do this without overcomplicating things.
What is a Temperature Sensor?
A temperature sensor detects changes in temperature and converts it into data or signals that systems can use. Most sensors rely on thermistors (resistors that change with temperature) or thermocouples to give accurate readings. These sensors are found in refrigerators, air conditioning units, cars, and even computers.
Different sensors have different output formats, but many are based on changes in resistance or voltage when the temperature fluctuates. And guess what? You can measure these changes easily using a multimeter.
Tools You Need to Test a Temperature Sensor
Before you jump into testing, make sure you have the right tools. Here’s what you’ll need:
- A multimeter (either analog or digital)
- The temperature sensor you’re testing
- A source of heat (like a hairdryer or heat gun) or cold (ice water works fine)
You don’t need fancy gear. A basic multimeter with the ability to measure resistance (ohms) and voltage will do the trick.
Steps to Test a Temperature Sensor with a Multimeter
1. Set the Multimeter to Measure Resistance
To begin, set your multimeter to the ohms setting. You want to measure how much the resistance changes as the temperature changes. For most sensors, the resistance will either increase or decrease predictably with temperature.
2. Check the Sensor’s Specifications
Before you take measurements, make sure you understand what values you should expect. Look up the sensor’s datasheet, or check the equipment’s manual if you’re working on something specific. For instance, some thermistors may have a resistance of 10,000 ohms at 25°C, which changes as the temperature rises or falls. The key is knowing what values are “normal” for your sensor.
3. Measure at Room Temperature
With the sensor disconnected from its circuit, attach the multimeter leads to the sensor’s two terminals. If it’s a thermistor, you’re measuring the resistance between the two points.
Observe the reading. If it’s significantly off from the expected value, the sensor could be faulty. For example, if you’re expecting around 10K ohms at 25°C, but you get 1K or 50K, something’s wrong.
4. Apply Heat or Cold
Now, gently apply heat to the sensor using a hairdryer or another heat source. Keep an eye on the multimeter as you do this. The resistance should change as the sensor gets warmer or cooler. If the sensor is working correctly, the resistance should drop with heat and rise with cold (assuming you’re working with an NTC thermistor).
What are NTC Thermistors? NTC stands for “Negative Temperature Coefficient”. NTC thermistors are resistors with a negative temperature coefficient, which means that the resistance decreases with increasing temperature. They are primarily used as resistive temperature sensors and current-limiting devices.
https://eepower.com/resistor-guide/resistor-types/ntc-thermistor/
If there’s little to no change in resistance while the temperature changes, then the temperature sensor may be faulty.
5. Check Voltage Output (If Applicable)
Some sensors, especially in automotive systems, use voltage to signal temperature changes. To test this, set your multimeter to voltage mode. Attach one probe to the sensor’s signal output and the other to ground. The voltage reading should change as the temperature changes.
In a car engine temperature sensor, for instance, you might expect readings like 0.5V at cold temperatures and 4.5V at high temperatures. Consult your car’s manual for the exact numbers. If the voltage stays constant regardless of temperature, that’s another sign the sensor isn’t working properly.
Common Issues and Troubleshooting
1. No Reading or Infinite Resistance
If the multimeter shows no reading or infinite resistance, it could mean that the sensor has an internal break. This is common in older or damaged sensors. In such cases, the temperature sensor will need replacing.
2. Resistance or Voltage Not Changing
If the multimeter shows the correct reading at room temperature but doesn’t change when you apply heat or cold, then the sensor might be unresponsive to temperature changes. This often means internal damage, like a short circuit or degradation over time.
Tips for Accurate Testing
- Always test the sensor when it’s completely disconnected from any power source or circuit.
- When measuring voltage, ensure your multimeter’s leads are securely attached to avoid false readings.
- If you’re testing a sensor on a running car, be extra cautious. Some car sensors require the engine to be on to function properly.
Final Thoughts
Testing a temperature sensor with a multimeter is a straightforward process. The key is to know what kind of sensor you’re working with and what values to expect. Whether you’re diagnosing an engine problem or troubleshooting a household device, using a multimeter can help you verify if the temperature sensor is functioning properly.

